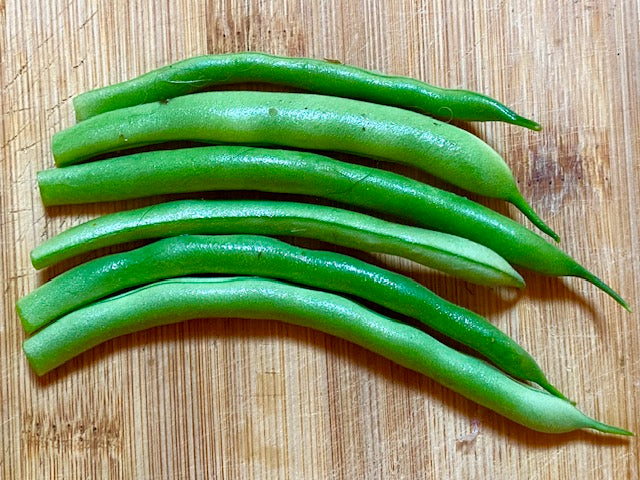
Last week, in our blog I marveled about all the different ways you can enjoy eating garlic. I mentioned that I would be pickling some green beans and adding garlic to my jars. So, I thought, I would share that process with you today. This time of summer all of the vegetables in the garden are at peak production. I have plenty of cucumbers, zucchini, kale and tons of green beans. If you are like me you enthusiastically planted a few too much food to eat fresh. But that is okay. One of the best parts about gardening is learning how to preserve and save food for later.
So this year, I will do two things with my plethora of green beans. First, I will pickle some. I love pickled dilly beans. They are bright, crunchy and fun. Easy to eat on their own, add to a charcuterie board or onto a Ceasar cocktail! Once I am tired of pickling beans, which does happen for me. There is a lot of other canning to do this year. I will blanch and freeze some batches as well. So let's get into it.

How to Make Pickled Green Beans
Ingredients:
2 # green beans
6 cloves of garlic
24 black peppercorns
6 sprigs of fresh dill
6 small red chilis
Brine:
⅓ cup salt
¼ cup sugar
3 cups of white vinegar
2.5 cups of water
Equipment:
Stock pot
Canning funnel
Canning pot
6 pint jars with lids
Canning tongs
Knife
Cutting board
Directions:
First, fill your canning pot with water and put it to start boiling on the stove. This can take awhile so it is important to start it at the correct time.
Second, add all of your brine ingredients to a pot and bring to a boil. You want the salt and sugar to dissolve fully into the mixture.
While your brine is on the stove. Start assembling your jars. Put one clove of garlic in each jar. I used German White garlic this time. It has a nice spicy flavor. Then add 3 peppercorns, the chili and a sprig of your fresh dill. I grew Mammoth dill this year. You can omit the chili if you do not like spicy things.
Prepare your green beans by washing them and then trimming the ends. This year I grew Tendergreen beans. They are crunchy and uniform and great for canning. You want to choose unblemished green beans that are medium sized. The beans need to fit below the threads of the jar as well.
Layer the beans tightly into the jar until it is completely full.
Once your brine is ready, fill each jar till about ¼ inch below the top of the jar. Use your canning funnel to help you from making a mess. Take a clean cloth and wipe the rim of each jar clean before securing the lid.
Your canning water should be boiling by now. Lower your jars gently into the water in the canning rack. Process the jars for 10 minutes if you are at sea level. I process mine for 15 minutes because I live at 1500 feet altitude.
Pull the canning rack out of the water and with your canning tongs gently transfer the jars to a flat space to cool. You will hear popping sounds as the jars cool and the lids create a vacuum seal.
Label your jars with the date.
The brine recipe above is basic. It can be combined with any spices that you want. I like pretty simple beans.
Happy canning!


Comments (0)