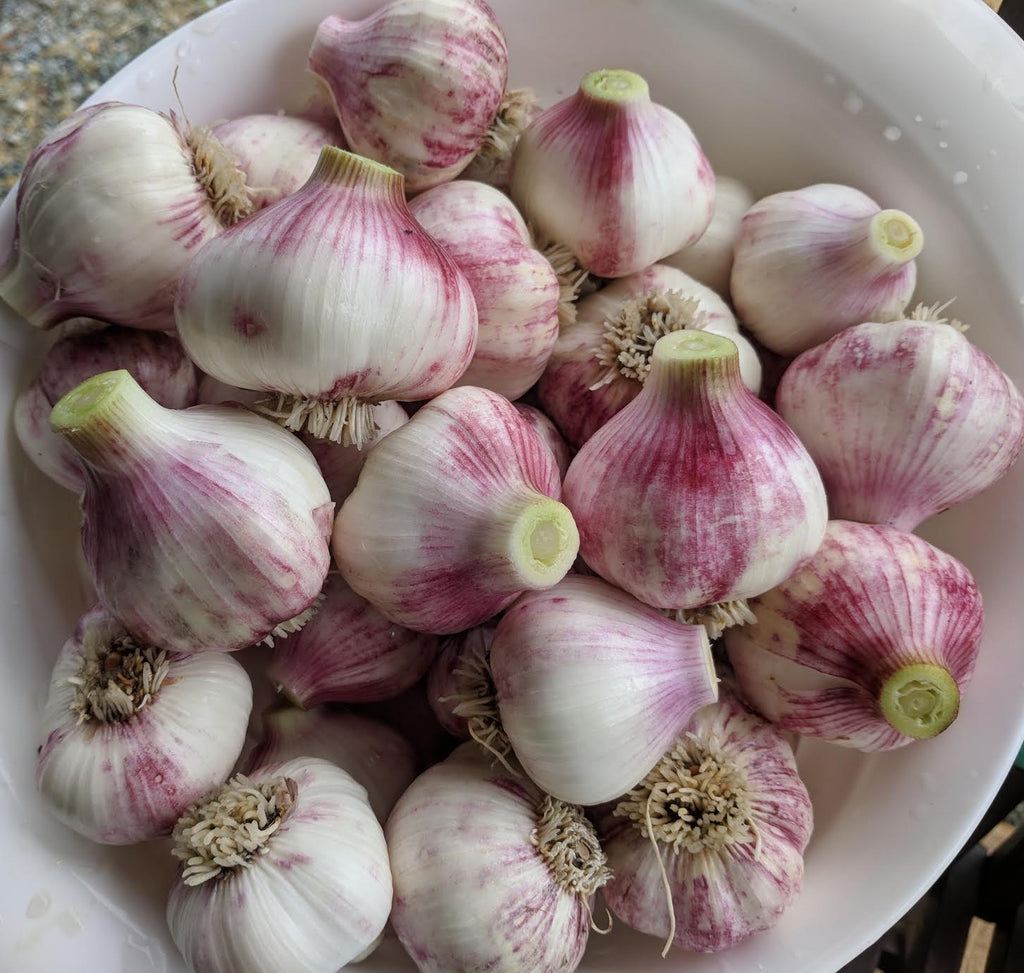
Your garlic has been tucked away beneath the soil for nearly 9 months. If it is your first time growing garlic, you might be wondering, what do I do now? We put together a few tips to help you finish growing amazing garlic so that you can enjoy the rewards of this incredible crop. Garlic might take a long time to grow but it is surely worth the wait.
- Stop fertilizing. Hopefully you have already stopped fertilizing your garlic, if not stop now! Since garlic remains in the ground for such a long time it requires a lot of nutrients for growth. It is what is known in the plant world as a heavy feeder. Generally you may want to add, compost, an organic nitrogen fertilizer like chicken manure or fish hydrolysate during the spring while the garlic is growing its aerial parts. Garlic does not need anymore fertilizer starting about a week before scape formation. As the garlic begins to form the bulb it will pull resources out of the leaves.
- Scape your hardneck garlic varieties. This is an important step to help finish your garlic bulbs. The scape is the flower bud and the stem of the garlic. If you let it bloom into a flower it would eventually produce garlic seed. However, if you are growing garlic for the bulb, removing the scape allows the garlic to focus its remaining energy stores into bulb production. Simply snap the flower bud off half way down the stem. Garlic scapes are truly delicious. They have a strong garlic flavor but add a nice bright green color to your cooking. I make garlic scape paste every year and use it in salad dressing, as a marinade and as a replacement for garlic in recipes. Softneck garlic varieties do not have a scape to remove.
- Cut the water. In order for your garlic to start forming the paper and separate cloves you need to stop watering it. This signifies to the plant that it is time to finish growing. It puts stress on the plant and speeds up bulb formation. Too much water at the end of your garlic's time in the ground could also cause the bulbs to rot. Stop watering your garlic about 2 weeks before the bulbs are ready to harvest.
- Harvest your garlic. Your garlic is ready to harvest when most of the bottom sets of leaves are dry and yellowish. You do not have to wait until all the leaves die, in fact it is better to harvest when some leaves are still green. Dig your garlic out with a digging fork. Place the fork a few inches from the bulb to loosen the soil. Be careful not to pierce the bulbs. Then pull the garlic up gently by grabbing the bottom of the stem with your hands and pulling upwards. Shake loose the dirt and bunch individual garlic plants together in groups of 10 or so.
- Hang your garlic. Tie pieces of twine around your garlic bulb bunches. Hang the twine up in your garage, barn or where it can get good airflow out of direct sunlight. You can also lay your garlic out flat to dry on screens or pallets. Just make sure there is airflow so that the garlic can dry properly.
- Plant again! After your garlic is dried and cured. Clean the garlic by trimming the roots and removing all the dirt. You can peel off the first layer of the garlic skin as well for a cleaner garlic bulb. Trim the stem about ½ inch about the top of the bulb. Select your biggest garlic bulb and save those for planting. Buy more seed garlic as needed. Seed garlic is selected from the highest quality garlic bulbs for size, disease resistance and appearance. Plant your garlic seed again in mid October.


Paziaud Luc
I live in the gambia at 13.44 N. Is it possible to grow garlic so much near of the tropic? We have a long raining season from July to august, then a hot and dry season. Here most of vegetables are grown from October to January, with irrigation. What variety would you try, if there is a small chance of succeeding? Thank you very much for your advice